Garlic Butter Chicken: The One-Pan Dinner That Tastes Like It Took All Day
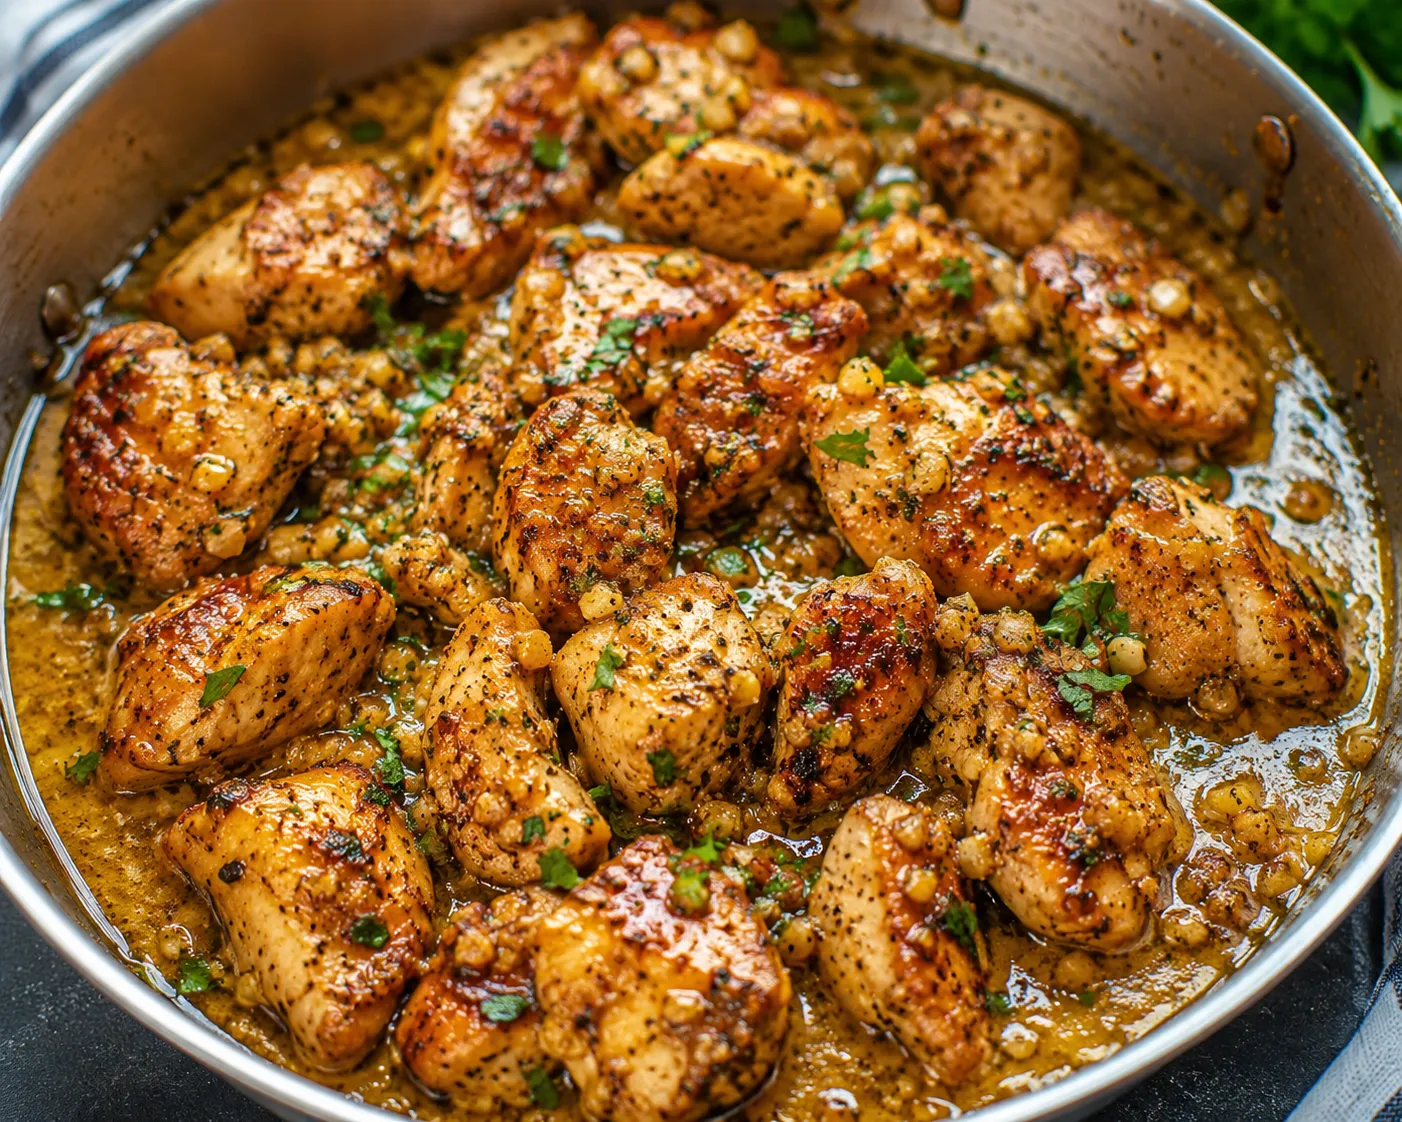
There’s a particular kind of dinner that punches above its weight — one that uses simple, everyday ingredients but somehow tastes like it came from a restaurant kitchen rather than a home stove. Garlic butter chicken is exactly that dish. Crispy-skinned chicken thighs, basted in a rich garlic and herb butter sauce, ready in under thirty minutes, using nothing more than a single skillet.
It’s the kind of recipe that quietly becomes a weekly staple. Not because it’s flashy or trendy, but because it delivers, every single time, with almost no room for error.
Why This Recipe Works So Well
The secret to garlic butter chicken isn’t a long ingredient list or a complicated technique — it’s about getting a few fundamentals exactly right. This recipe leans on bone-in, skin-on chicken thighs, which are arguably the most forgiving cut of chicken you can cook. Unlike chicken breast, which dries out the moment it’s left on the heat a minute too long, thighs are naturally marbled with fat that keeps them juicy even if you’re not watching the clock perfectly.
The other piece of the puzzle is the cooking method itself: a long, undisturbed sear to render the fat and crisp the skin, followed by a butter baste that infuses the chicken with garlic and fresh herbs as it finishes cooking. This is a classic technique borrowed from French bistro cooking, but it translates beautifully to a simple weeknight meal — one pan, minimal cleanup, maximum flavor.
There’s also something to be said for how the ingredients themselves interact. Garlic, when gently cooked in butter rather than blasted over high heat, turns sweet and mellow instead of sharp or bitter. Fresh thyme or rosemary infuses the butter as it melts, and a final squeeze of lemon juice at the end cuts through the richness, keeping the dish from feeling heavy. It’s a small, simple balance of flavors — but it’s exactly why this dish works.
A Quick Note on Choosing Your Chicken
While this recipe is written for bone-in, skin-on thighs, it’s worth understanding why that choice matters so much. Bone-in cuts cook more evenly and stay moister than boneless ones, since the bone acts as a bit of insulation against the direct heat. The skin, meanwhile, is what gives you that deeply savory, crackling crust — rendering its own fat as it cooks, which is what you’re using to build the sear in the first place.
If you only have boneless, skinless thighs on hand, you can still make a version of this dish — you’ll just lose some of that crispy texture, and you’ll want to reduce the initial sear time slightly since boneless cuts cook faster. Chicken breast can also work in a pinch, but keep a close eye on it, since it’s far more prone to drying out under the same cooking method.
Ingredients You'll Need
4 bone-in, skin-on chicken thighs
Salt and pepper, to taste
2 tbsp olive oil
4 tbsp butter
5 garlic cloves, smashed
2 sprigs fresh thyme or rosemary
Juice of half a lemon
Every ingredient here is doing real work, and there’s very little you can substitute without changing the character of the dish. The olive oil provides the initial high-heat fat for searing, since butter alone would burn at that temperature. The butter, added later, is what carries the garlic and herb flavor into every bite. Smashing the garlic cloves, rather than mincing them, is intentional too — it releases plenty of flavor into the butter while staying big enough to spoon over the chicken as a garnish, rather than disappearing or burning.
Step-by-Step
Step 1: Season the chicken. Pat the chicken thighs completely dry with paper towels — this step matters more than it might seem. Any surface moisture left on the chicken will turn to steam the moment it hits the hot pan, and steam is the enemy of crispy skin. Once dry, season generously on both sides with salt and pepper.
Step 2: Sear skin-side down. Heat the olive oil in a skillet over medium-high heat until it’s shimmering. Lay the chicken thighs in skin-side down, then leave them alone. This is the hardest part for a lot of home cooks — the instinct to poke, prod, or peek is strong, but resist it. Let the thighs sear undisturbed for 6 to 7 minutes. You’ll know they’re ready to flip when the skin releases easily from the pan and has turned a deep golden brown.
Step 3: Flip and baste in garlic butter. Flip the chicken thighs over. Add the butter, smashed garlic cloves, and herb sprigs directly into the pan. As the butter melts and starts to foam, tilt the skillet slightly toward you and use a spoon to continuously baste the chicken with the garlic butter as it pools. Continue this for another 6 to 8 minutes, until the chicken reaches an internal temperature of 165°F (74°C) at the thickest part.
Step 4: Finish and serve. Once the chicken is fully cooked, take the pan off the heat. Squeeze the lemon juice directly over the chicken, then spoon any remaining garlic butter sauce from the pan over the top before serving.
What to Serve It With
Garlic butter chicken is rich and savory, so it pairs beautifully with something that can either soak up the sauce or offer a bit of freshness to balance it out. Creamy mashed potatoes or buttered egg noodles are a natural match, letting you use every last bit of that garlic butter. Rice works just as well if you want something lighter. For a fresher contrast, a simple green salad with a light vinaigrette or some roasted green vegetables — asparagus, green beans, or broccolini — rounds the meal out nicely.
If you want to turn this into a true one-pan meal, you can add baby potatoes or vegetables to the skillet during the last several minutes of cooking, letting them pick up some of that garlic butter flavor directly from the pan.
Tips for Getting It Right Every Time
A handful of small habits separate an average version of this dish from a genuinely great one.
Dry the chicken thoroughly before cooking. This is the single most important step for crispy skin, and it’s the one people are most likely to skip.
Don’t crowd the pan. If you’re doubling the recipe, cook the chicken in batches or use a larger skillet. Overcrowding causes the chicken to steam instead of sear, and you’ll lose that crisp texture entirely.
Use a meat thermometer. Chicken thighs are forgiving, but there’s still no need to guess. 165°F at the thickest part is your target, and a thermometer takes all the uncertainty out of it.
Let the chicken rest briefly before serving. A couple of minutes off the heat allows the juices to redistribute through the meat rather than running out onto the plate the moment you cut into it.
Don’t skip the resting period for the garlic. Smashed (rather than minced) garlic cooked gently in butter turns sweet and mellow rather than sharp. If it starts to brown too quickly, lower the heat slightly.



You must be logged in to post a comment.